Using SSH tunnel
Note
Using the SSH tunnel requires a vetting process to enable MFA (Multi-Factor Authentication). Please check the intranet page to complet the vetting before following the instructions below.
A SSH gateway named ssh.dccn.nl is provided for setting the SSH tunnels. When setting up a tunnel for connecting to a target service behind the firewall, one needs to choose a local network port that is still free for use on your desktop/laptop (i.e. the Source port) and provides the network endpoint (i.e. the Destination) referring to the target service.
Tip
This technique can also be applied for accessing different services protected by the DCCN firewall.
Contents
Instructions in video
The following screencast will guide you through the steps of accessing the cluster via the SSH tunnel.
Utility script
For your convenience, we made an utility script to simplfy the setup of a SSH tunnel (for both VNC and data transfer). Nevertheless, we recommend to understand the mechanism by going through the steps once.
tunnel2vnc script [Windows] [Linux/MacOSX]
For the usage of the script, see the tips in VNC via SSH tunnel (Windows) and VNC via SSH tunnel (Linux/Mac OSX).
Putty login via SSH tunnel
In this example, we choose Source port to be 8022. The Destination referring to the SSH server on mentat001 should be mentat001:22.
Follow the steps below to establish the tunnel for SSH connection:
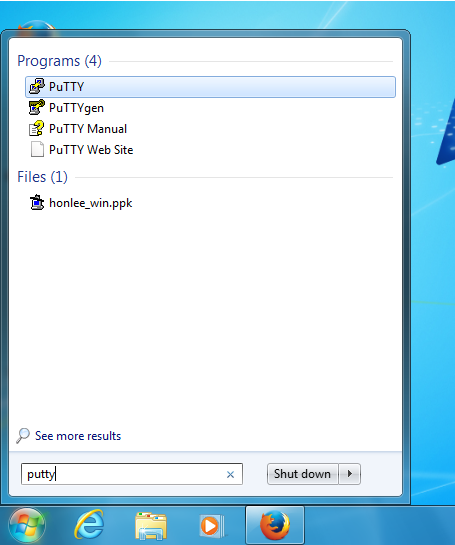
start putty on the Windows desktop
configure putty for connecting to the SSH gateway
ssh.dccn.nl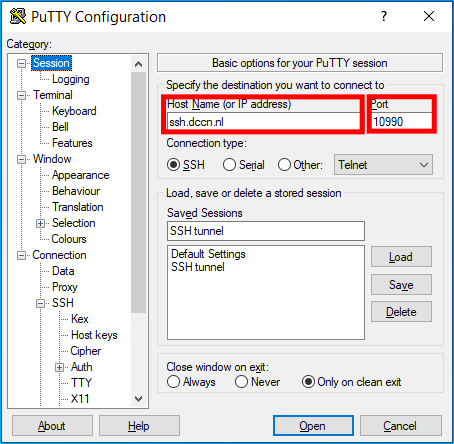
configure putty to initiate a local port
8022for forwarding connections tomentat001:22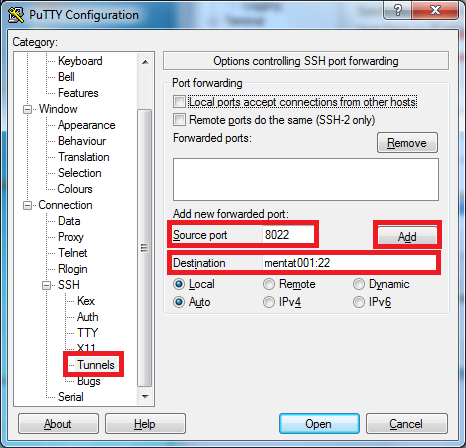
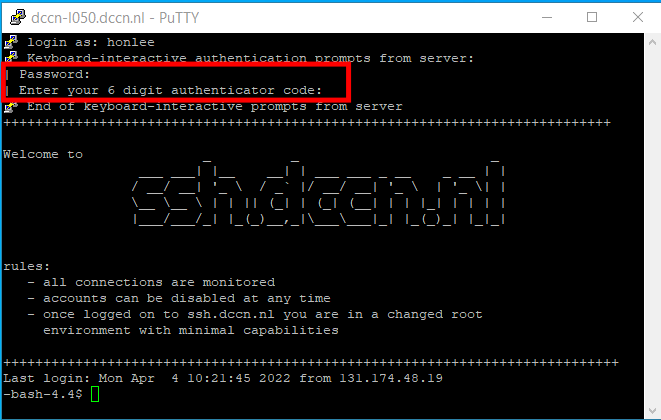
login the gateway with your DCCN credential (username, password) and a valid OTP (one-time password) to establish the tunnel
Note
A vetting process is required for getting a valid one-time password.
Once you have logged in the gateway, you should keep the login window open. If you close the terminal, the tunnel is also closed. You can now make a SSH connection to the mentat node (
mentat001in this case).start another putty on the Windows desktop
configure putty for connecting to
localhoston port8022. This is the port we initiated when establishing the tunnel.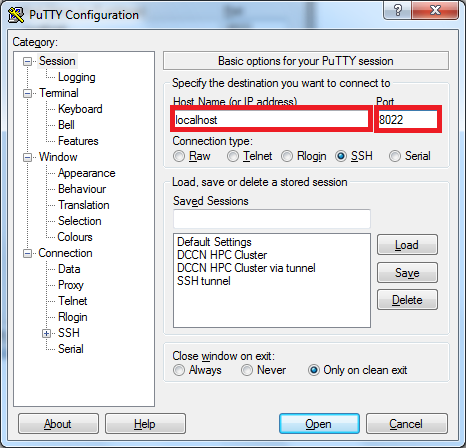
login with your DCCN credential (username, password)
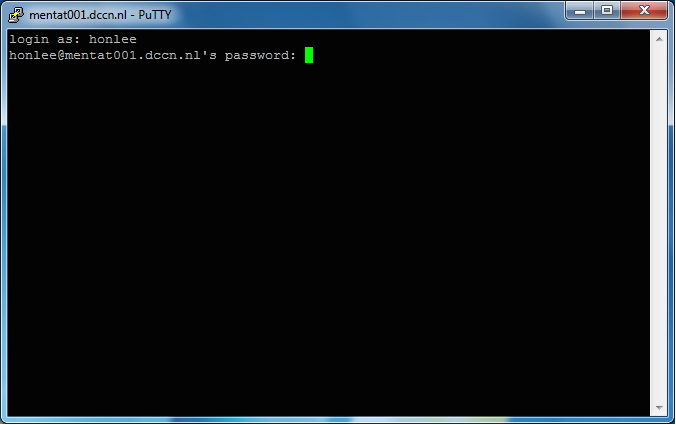
get the virtual terminal with a shell prompt. You should see the hostname
mentat001showing on the prompt.
VNC via SSH tunnel (Windows)
Tip
A simple script wrapping up the steps below can be found here. After downloading the file, right-click the file to run with Powershell and follow the instruction to setup the tunnel.
If the Powershell program closed immediately after you run the script, you might need to set the Powershell execution policy. Open the Powershell as the Administrator and run
> Set-ExecutionPolicy -ExecutionPolicy Unrestricted
In this example, we choose Source port to be 5956. We also assume that a VNC server has been started on mentat002 with the display number 56. The Destination referring to the VNC server should be mentat002:5956.
Note
The display number 56 is just an example. In reality, you should replace it with a different number assigned by the vncmanager. Nevertheless, the network port number is always the display number plus 5900.
Follow the steps below to establish the tunnel for VNC connection:
start putty on the Windows desktop
configure putty for connecting to the SSH gateway
ssh.dccn.nl
configure putty to initiate a local port
5956for forwarding connections tomentat002:5956
login the gateway with your DCCN credential (username, password) and a valid OTP (one-time password) to establish the tunnel
Note
A vetting process is required for getting a valid one-time password.
Once you have logged in the gateway, you should keep the login window open. If you close the terminal, the tunnel is also closed. You can now make a connection to your VNC session through this SSH tunnel.
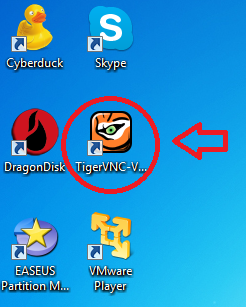
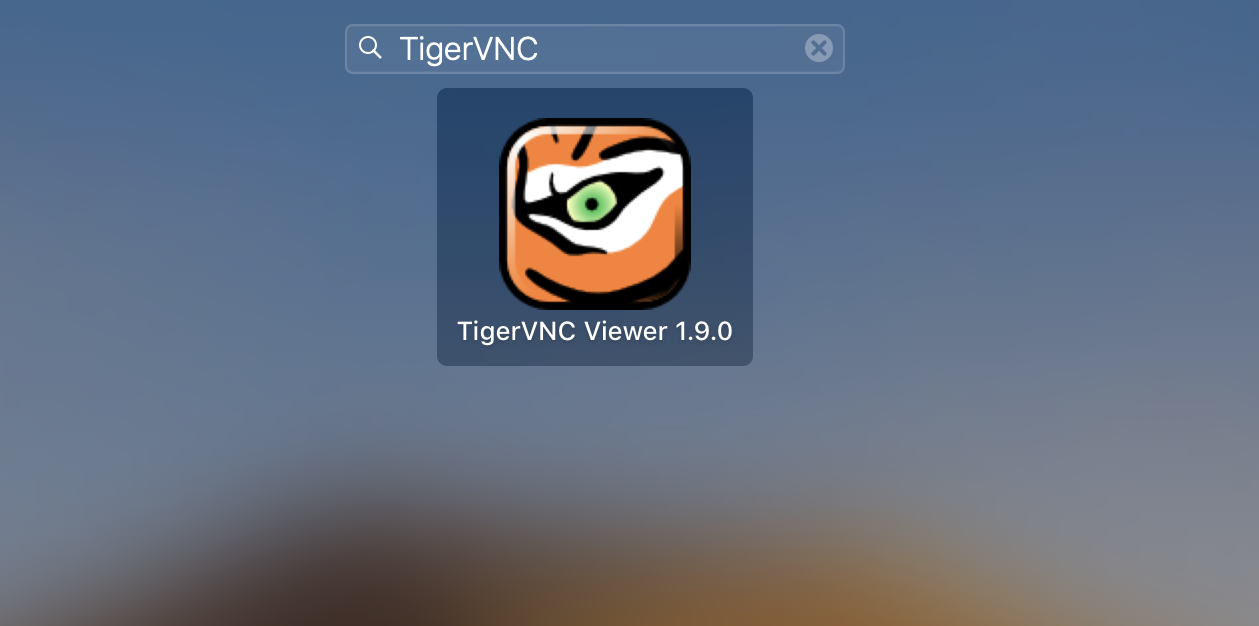
open the TigerVNC application
enter the display endpoint (
localhost:5956) as the VNC server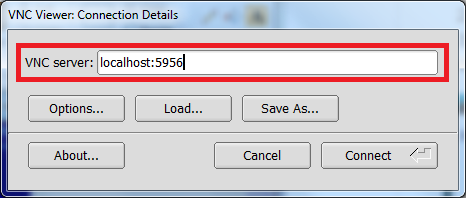
enter the authentication password you set via the
vncpasswdcommand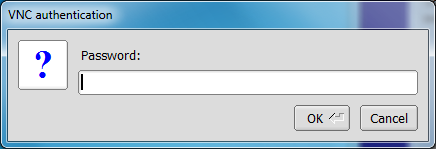
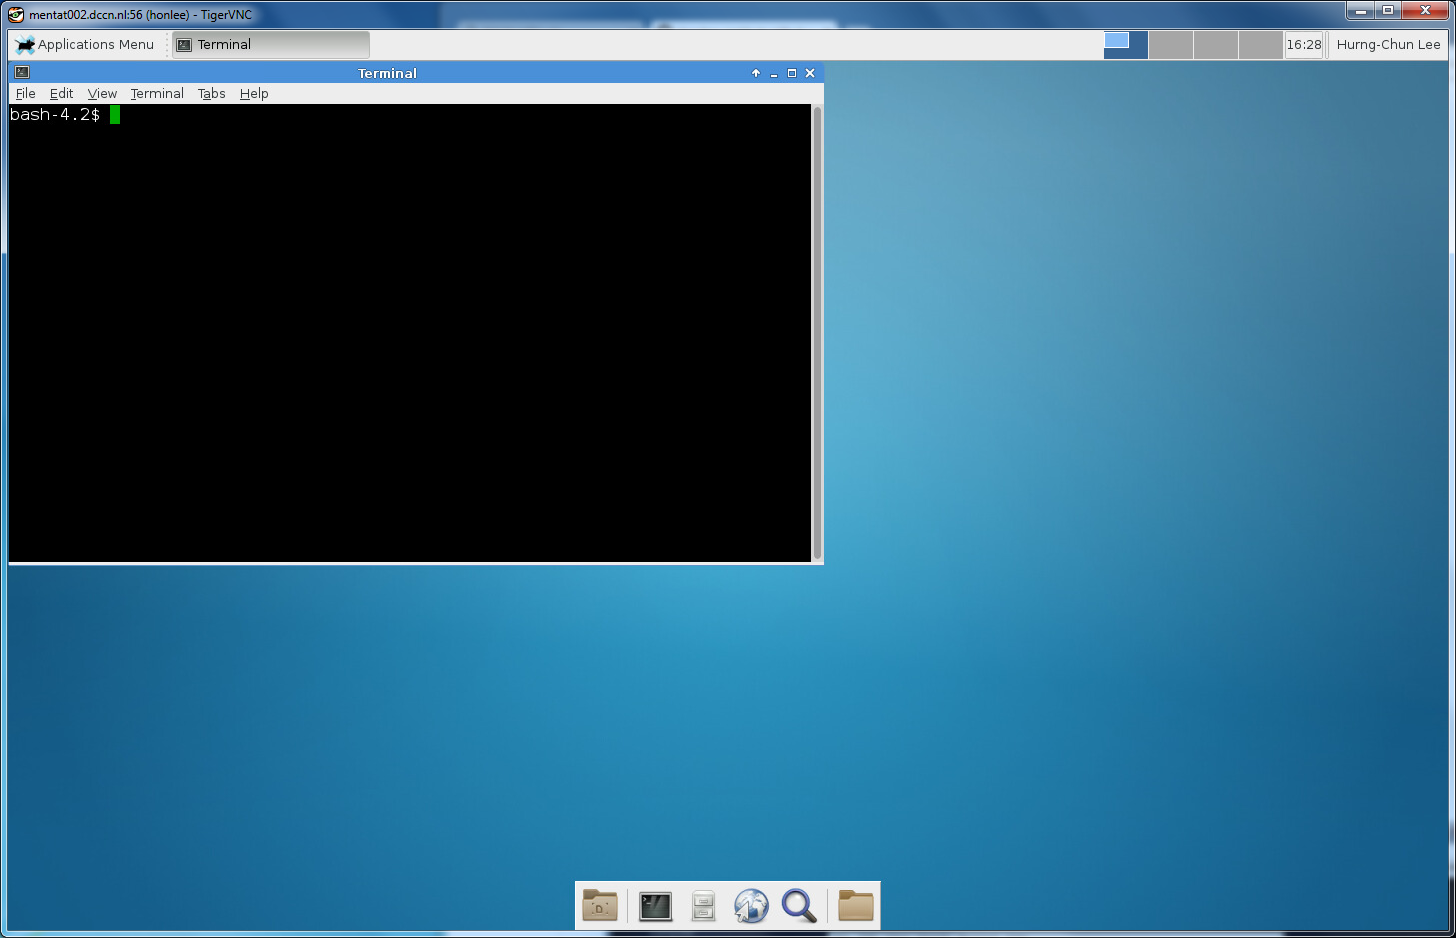
get the graphical desktop of the access node
VNC via SSH tunnel (Linux/Mac OSX)
Tip
A simple script wrapping up the steps below can be found here. Open a terminal and use the command below to download the script to setup the SSH tunnel:
$ curl -o $HOME/tunnel2vnc https://hpc.dccn.nl/_static/tunnel2vnc/tunnel2vnc.sh
$ chmod +x $HOME/tunnel2vnc
Run the command below in a terminal to start a SSH tunnel for VNC:
$ $HOME/tunnel2vnc
and follow the instruction to setup the tunnel.
In this example, we choose Source port to be 5956. We also assume that a VNC server has been started on mentat002 with the display number 56. The Destination referring to the VNC server should be mentat002:5956.
Note
The display number 56 is just an example. In reality, you should replace it with a different number assigned by the vncmanager. Nevertheless, the network port number is always the display number plus 5900.
Follow the steps below to establish the tunnel for VNC connection:
open a terminal application
On Linux, this can be either gnome-terminal on GNOME desktop environment, xfce4-terminal on the XFCE4, or konsole of the KDE. On Mac, the Terminal app can be found in the Other group under the app lanchpad.
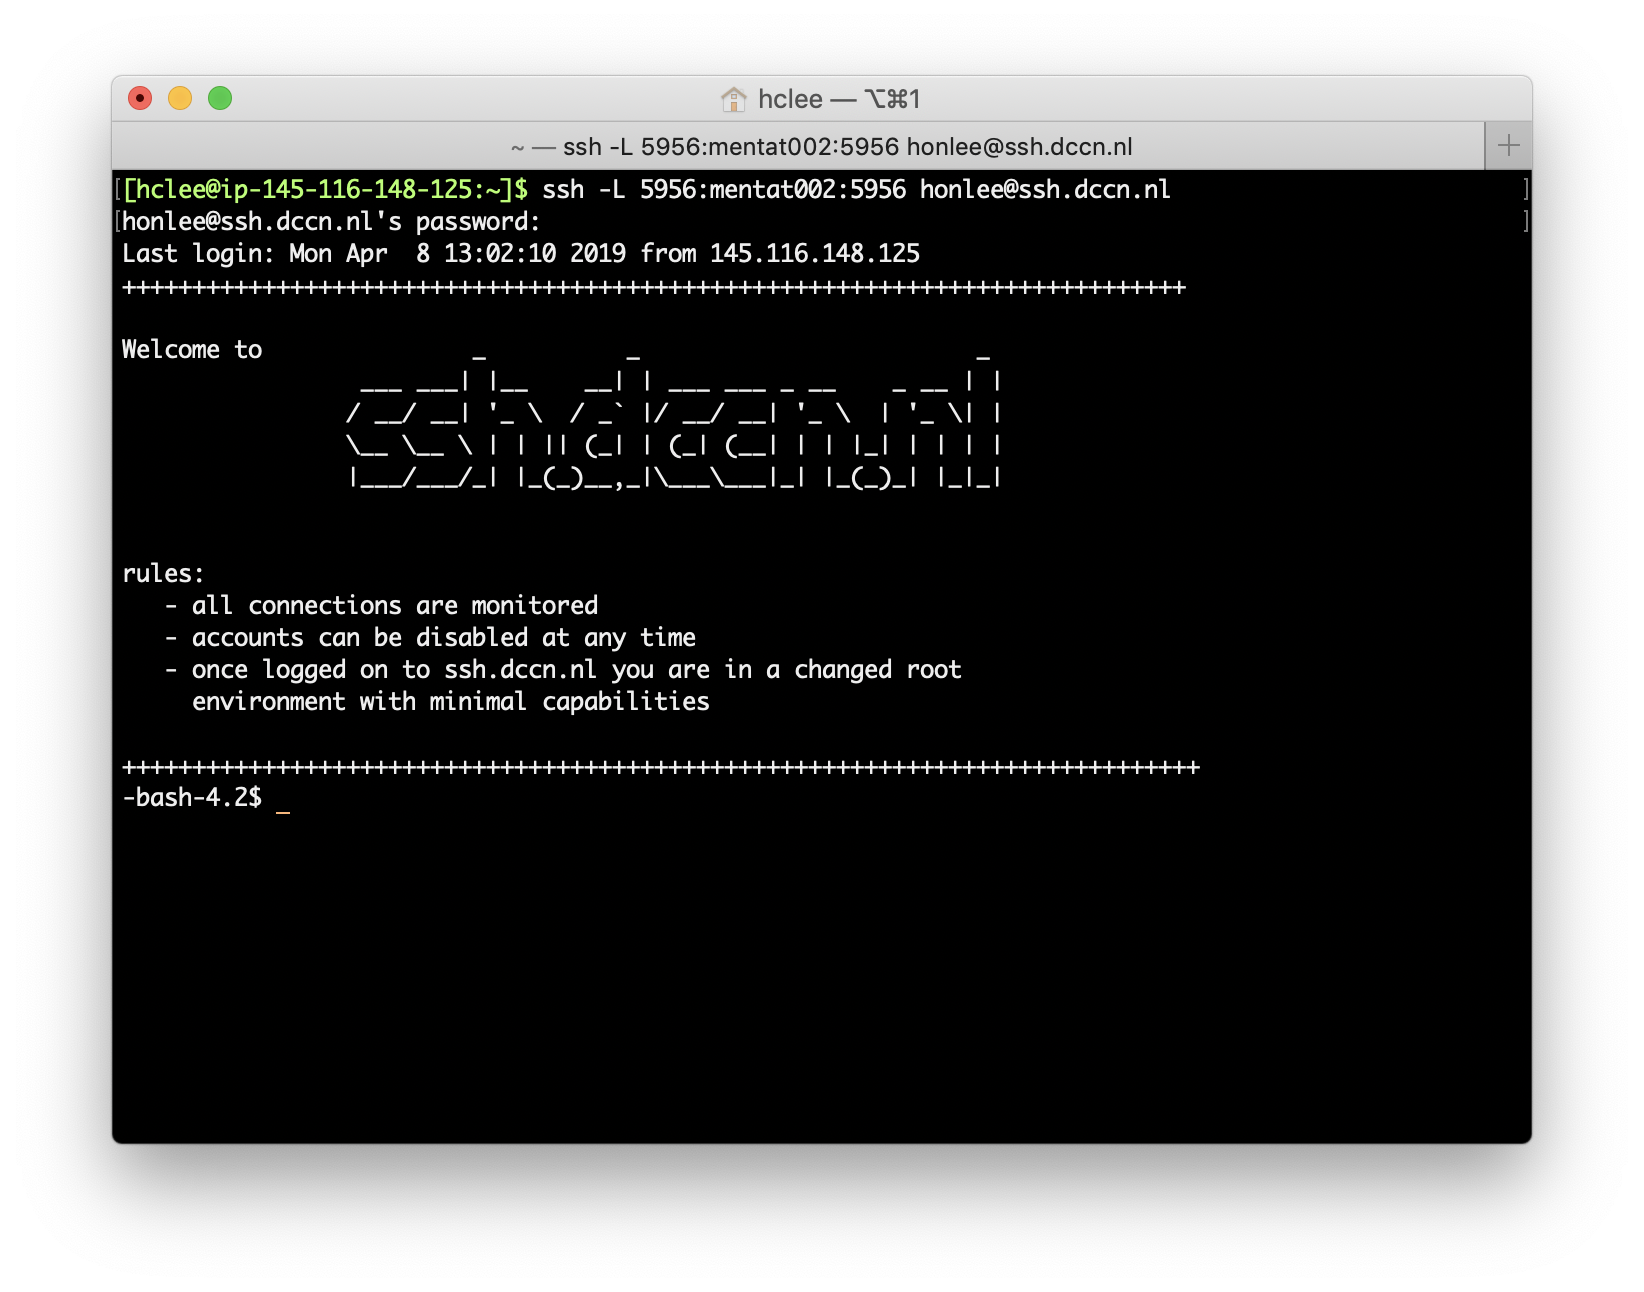
set up the SSH tunnel
Use the following command to create the SSH tunnel. Note that the
$sign is just an indication of your terminal prompt, it is not the part of the command. The usernamexxxyyyshould also be your actual DCCN account name in practice.$ ssh -L 5956:mentat002:5956 -p 10990 xxxyyy@ssh.dccn.nl
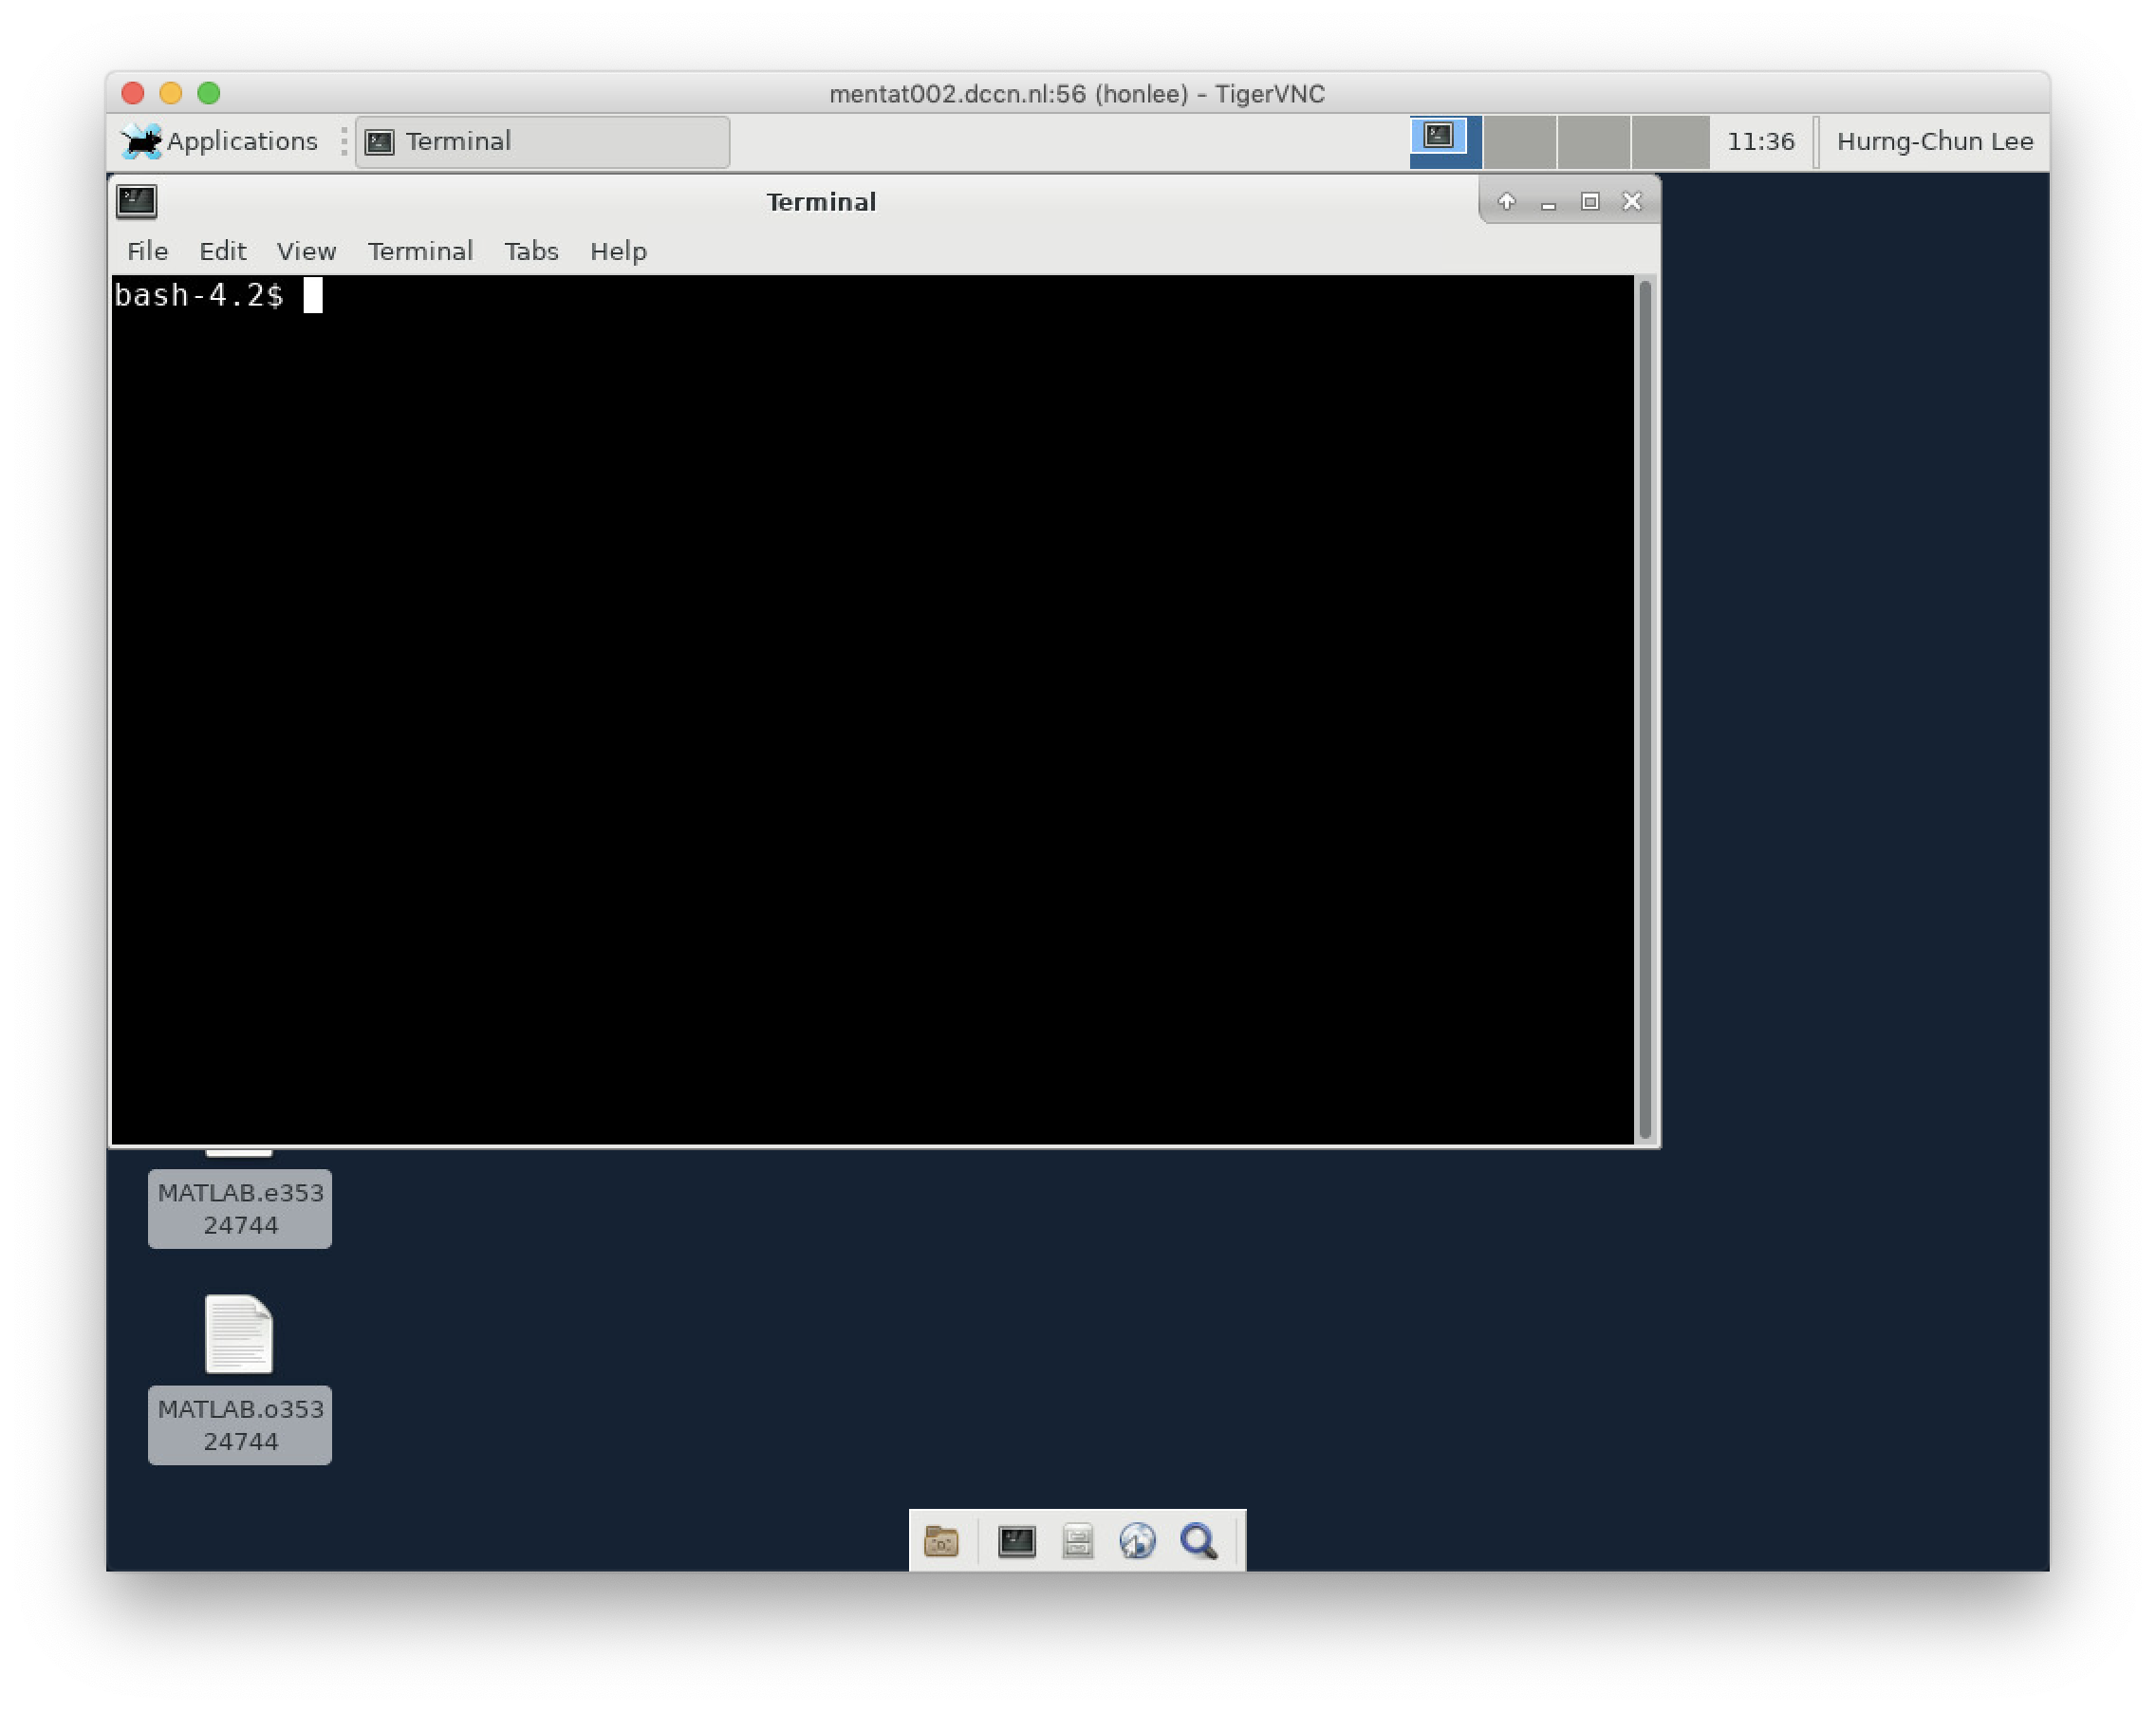
A screenshot below shows an example:
Once the connect is set, you should leave the terminal open. If you close the terminal, the tunnel is also closed. You can now make a connection to your VNC session through this SSH tunnel.
open the TigerVNC application
enter the display endpoint (
localhost:5956) as the VNC server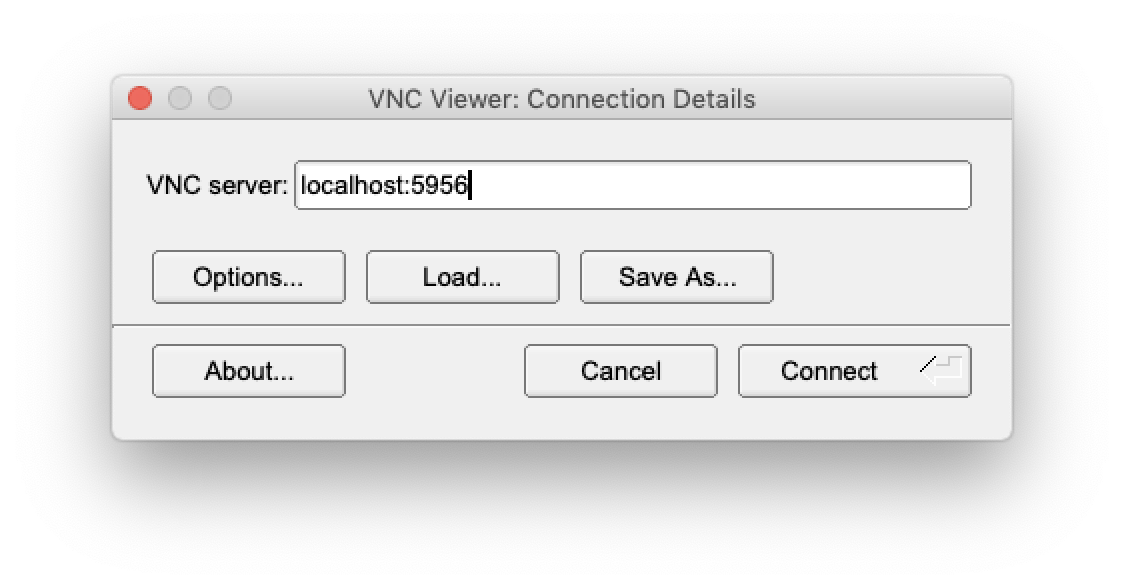
enter the authentication password you set via the
vncpasswdcommand
get the graphical desktop of the access node